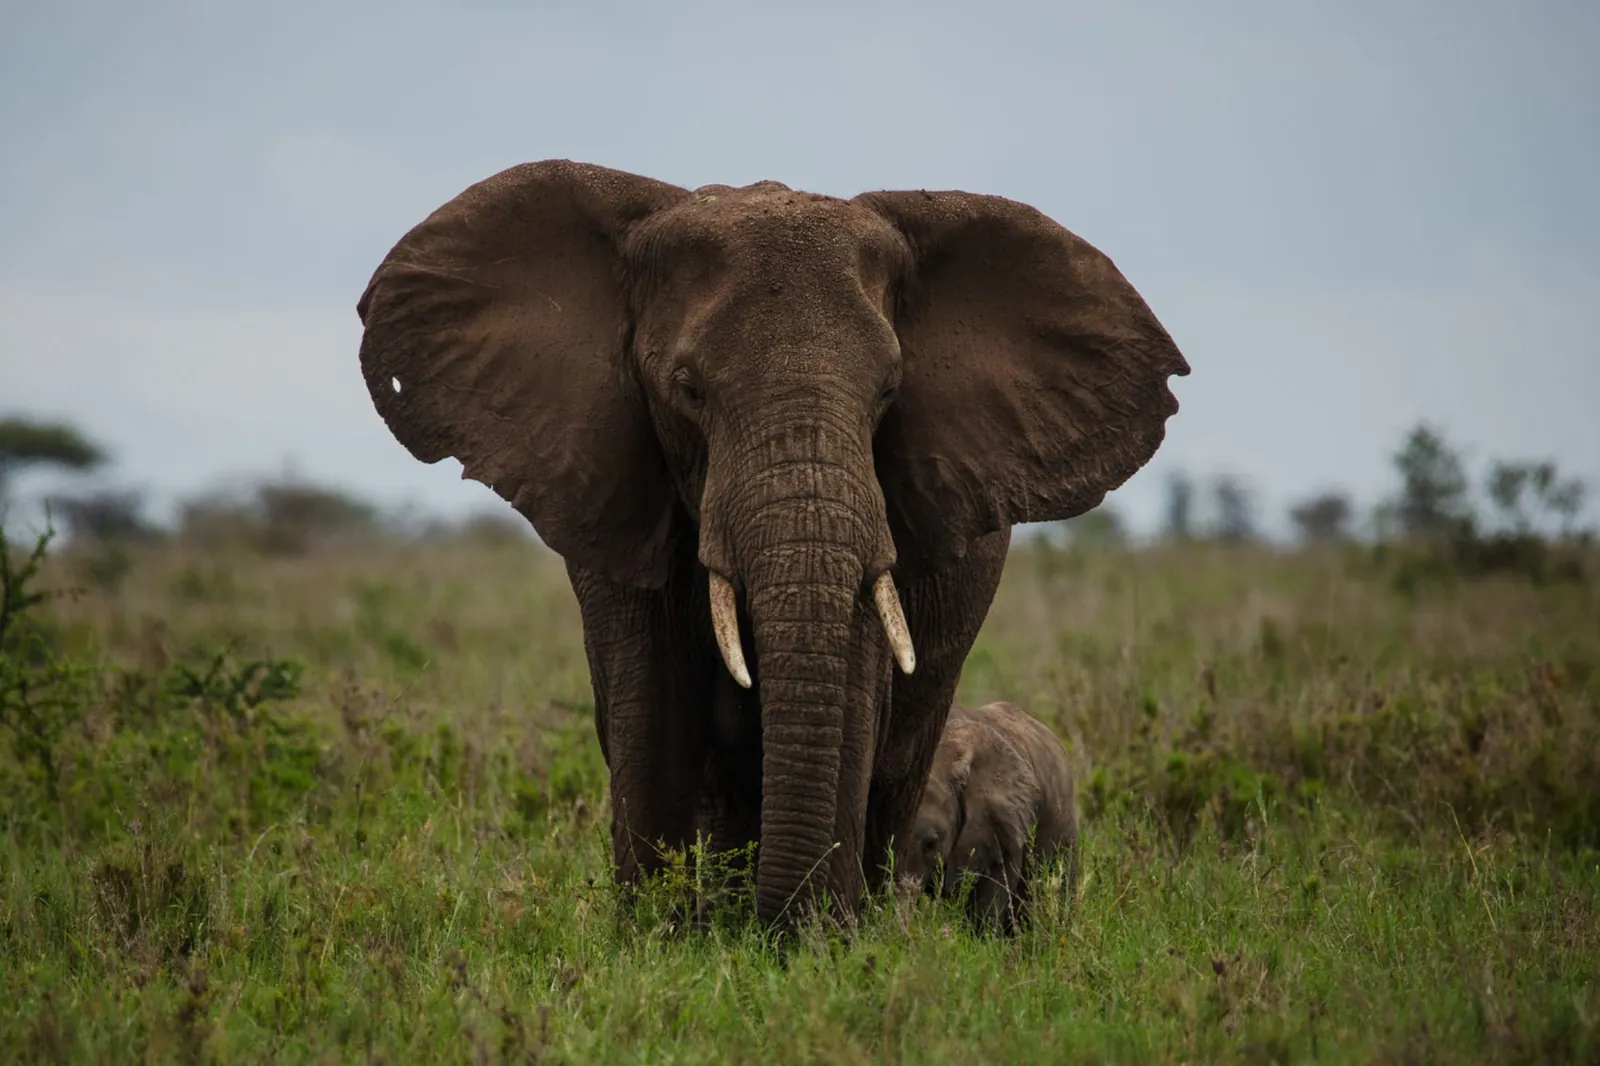
Your first African safari is an opportunity to experience wildlife in its natural environment. Watching elephants move through Tarangire or seeing lions in the Serengeti creates memories that stay with you long after the journey. Naturally, you will want photographs to remember those moments. If you have never used a dedicated camera, wildlife photography can seem complicated, but you do not need years of experience to capture meaningful images.
Start with equipment you can handle
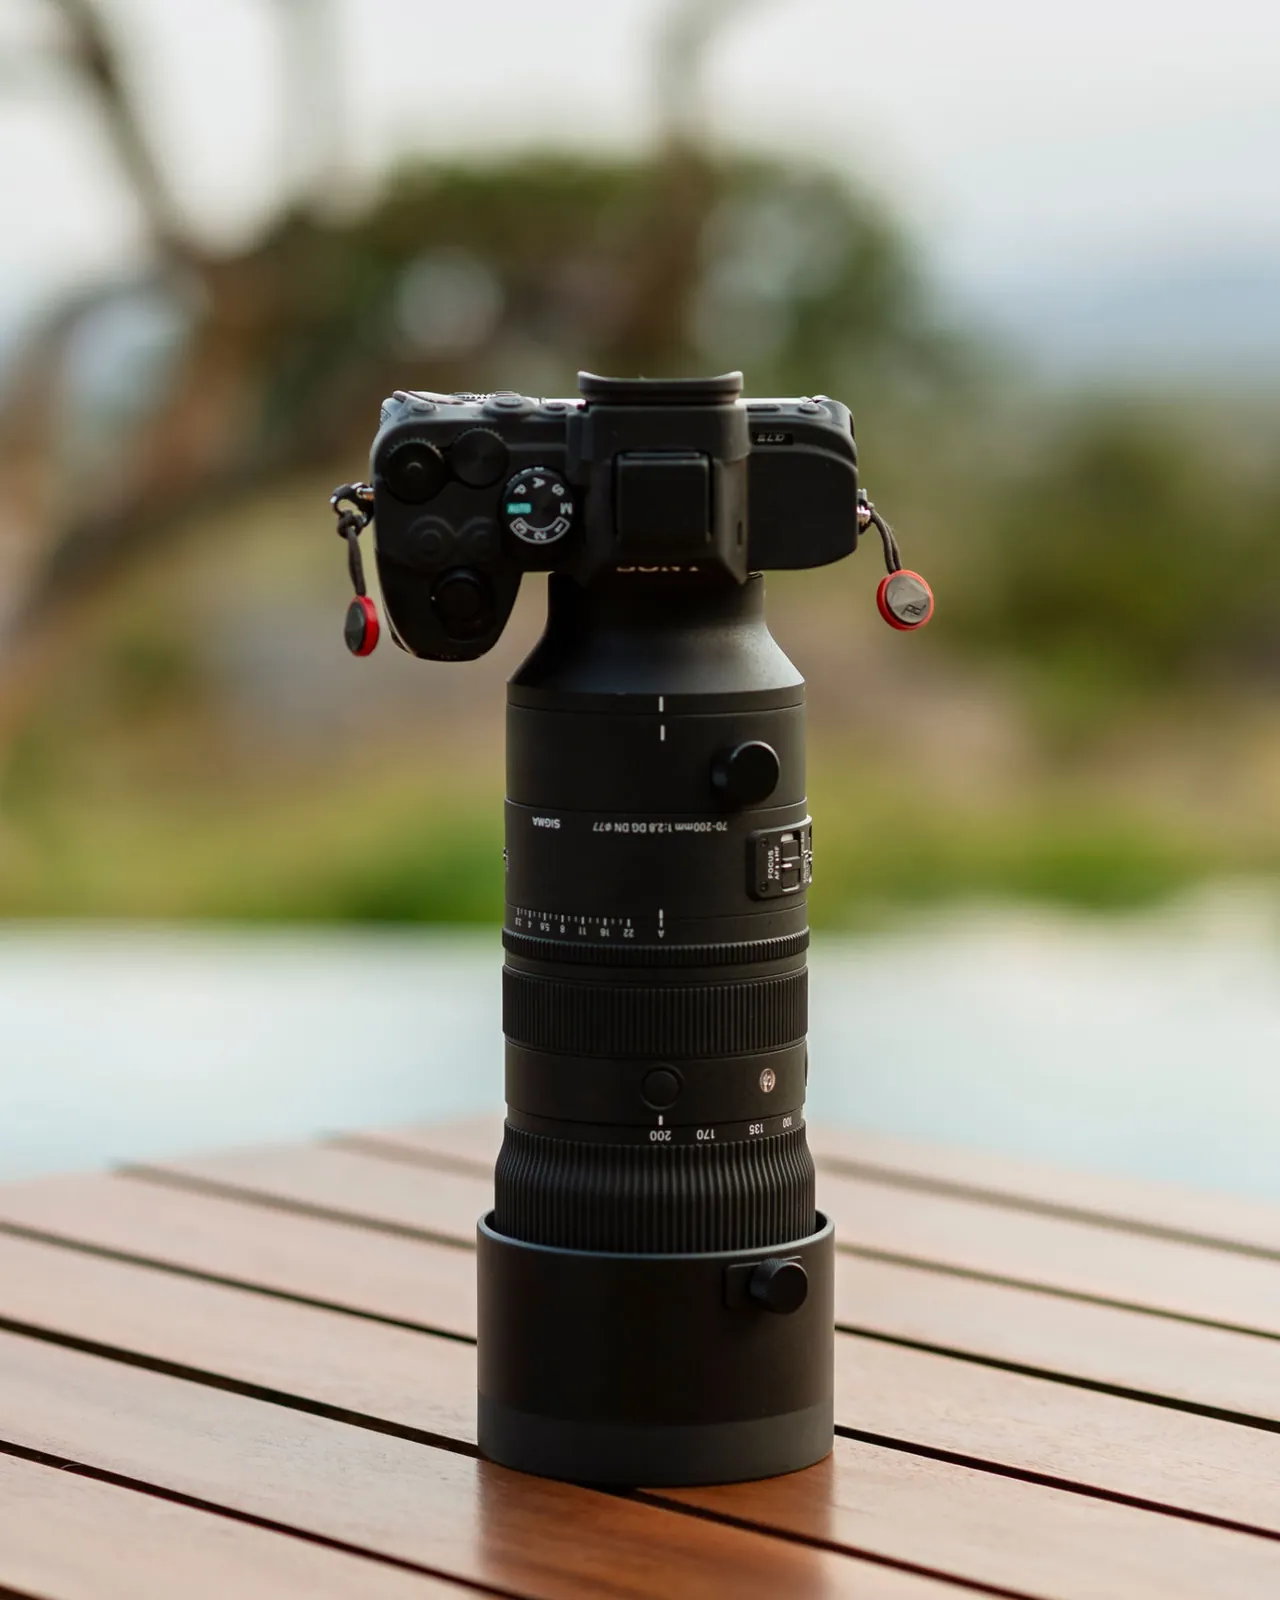
One common mistake is choosing unnecessarily complicated equipment. A large 600mm or 800mm lens offers impressive reach but can be difficult to handle inside a safari vehicle. For many beginners, a Sigma 100–400mm is a practical starting point. The Tamron 50–400mm for Sony cameras is another versatile choice: its 50mm wide end helps when animals approach or when you want more of the landscape in the frame.
Before deciding on a lens, imagine using it for several hours inside a safari vehicle. Can you lift it comfortably, find an animal in the viewfinder and adjust the zoom without losing your subject? A lighter lens often helps beginners react more quickly and enjoy the experience. If you are borrowing or renting a camera, ask for a short demonstration and practise photographing something moving before your first game drive. Confidence with basic controls matters more than memorising every menu setting.
Sony APS-C cameras for safari
Yes. Sony A6400, A6600 and A6700 cameras work with compatible Sony E-mount lenses. The Tamron 50–400mm provides a full-frame-equivalent field of view of about 75–600mm on these cameras. The Tamron 150–500mm provides about 225–750mm equivalent framing, useful for distant animals and birds. The crop factor changes framing, not actual focal length. The 150–500mm is still substantial in size and weight, so choose according to comfort.
Learn three essential camera settings
Shutter speed affects motion blur. Around 1/1000 second is a useful starting point for many wildlife situations, while running animals and birds may need faster speeds. Continuous autofocus helps track moving subjects; animal-detection features can assist when supported by your camera. Auto ISO helps maintain exposure when light changes between morning shade and open grassland. You do not need to master every control before departure.
Photograph more than close-up portraits
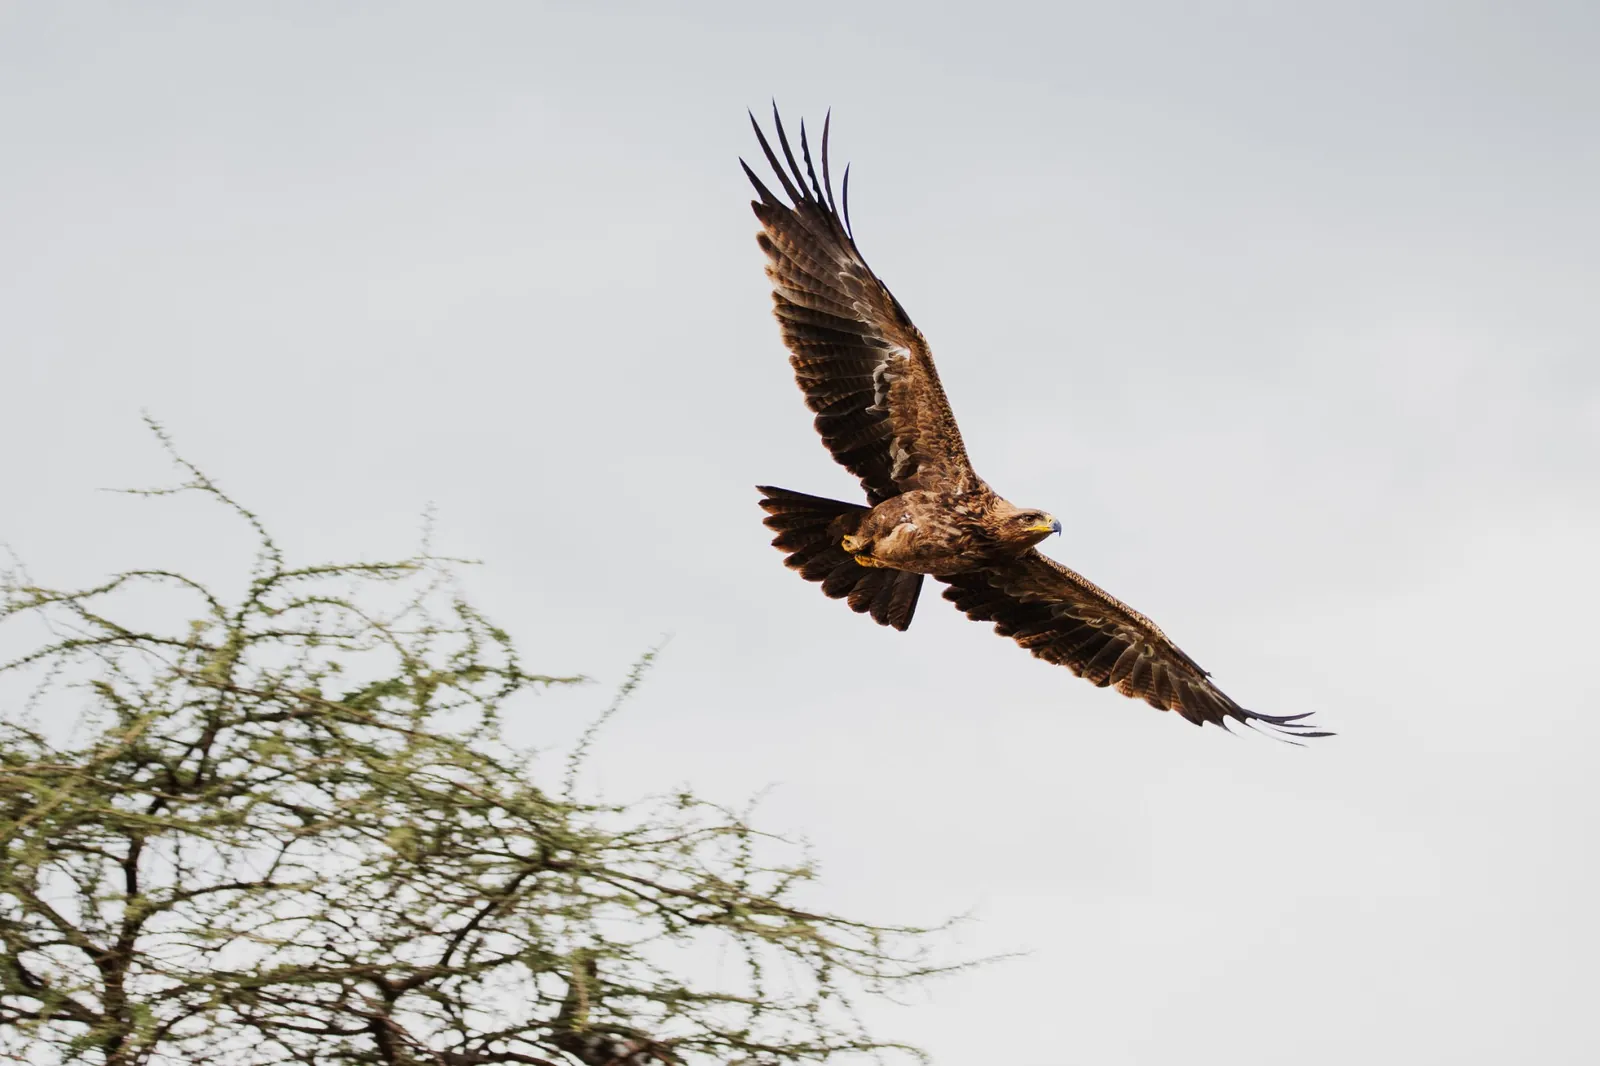
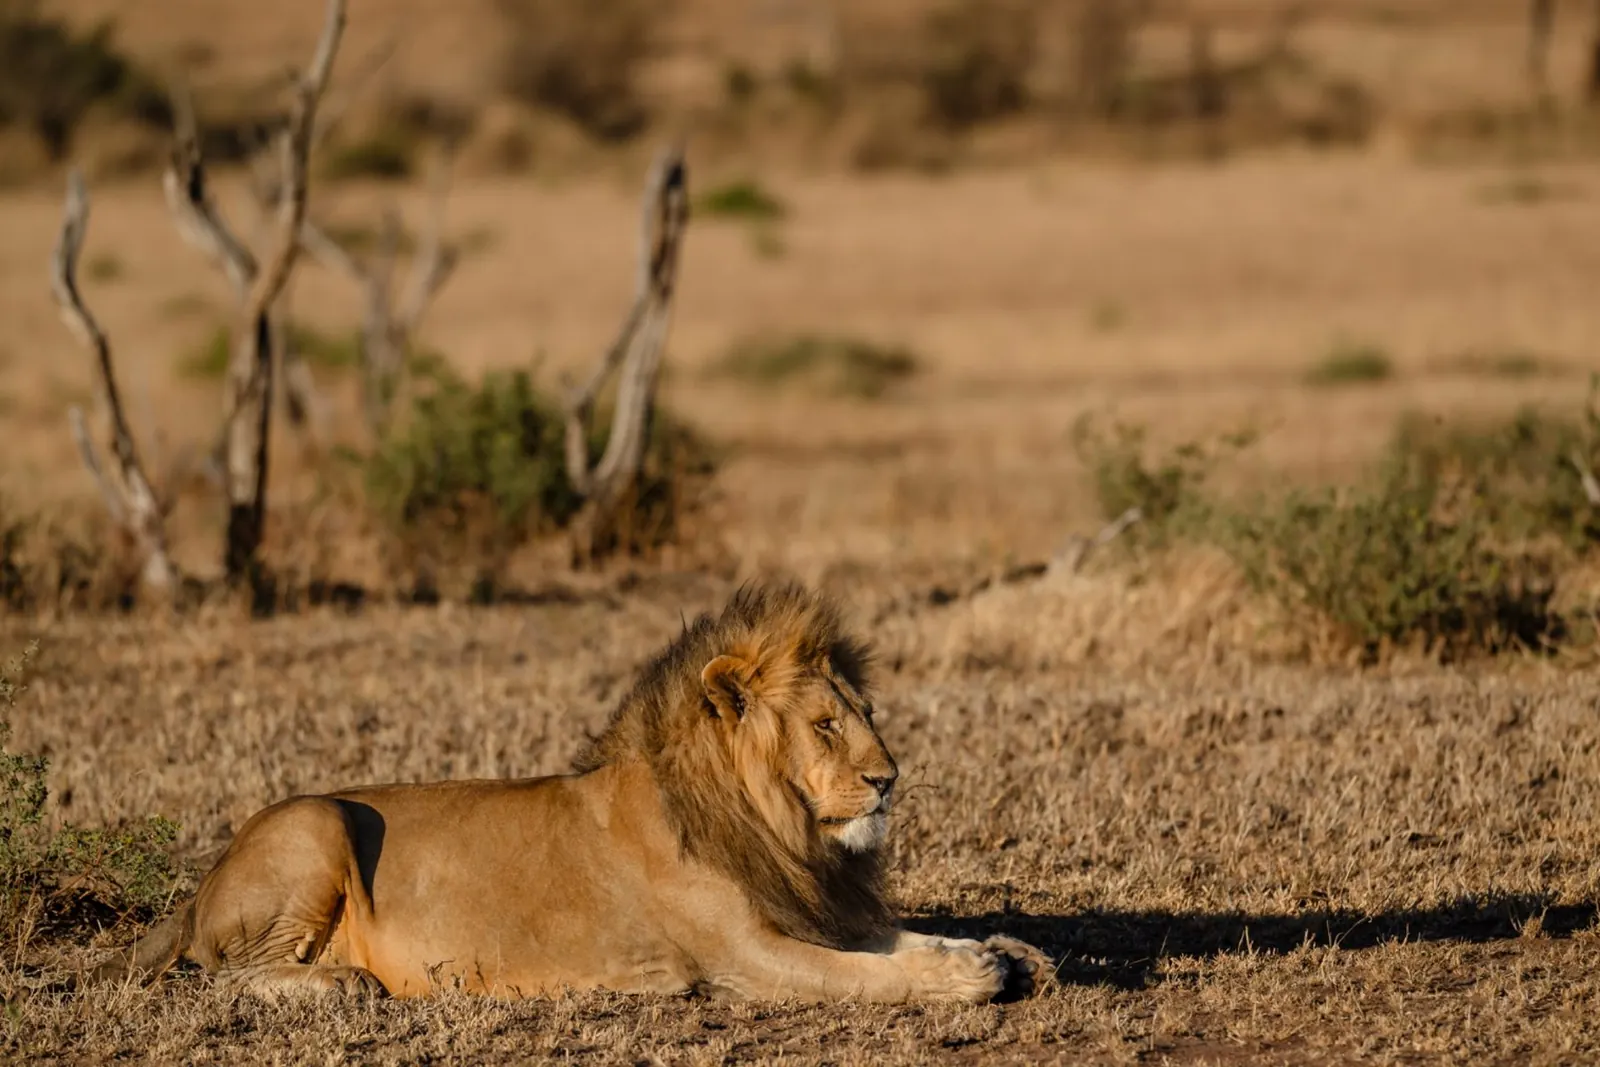
Some of the strongest safari images include the environment. A lion beneath an acacia or elephants moving through baobabs can communicate the atmosphere of a destination. Try wide scenes, medium compositions and close details. If you carry a smartphone as well as a telephoto camera, use each where it performs best.
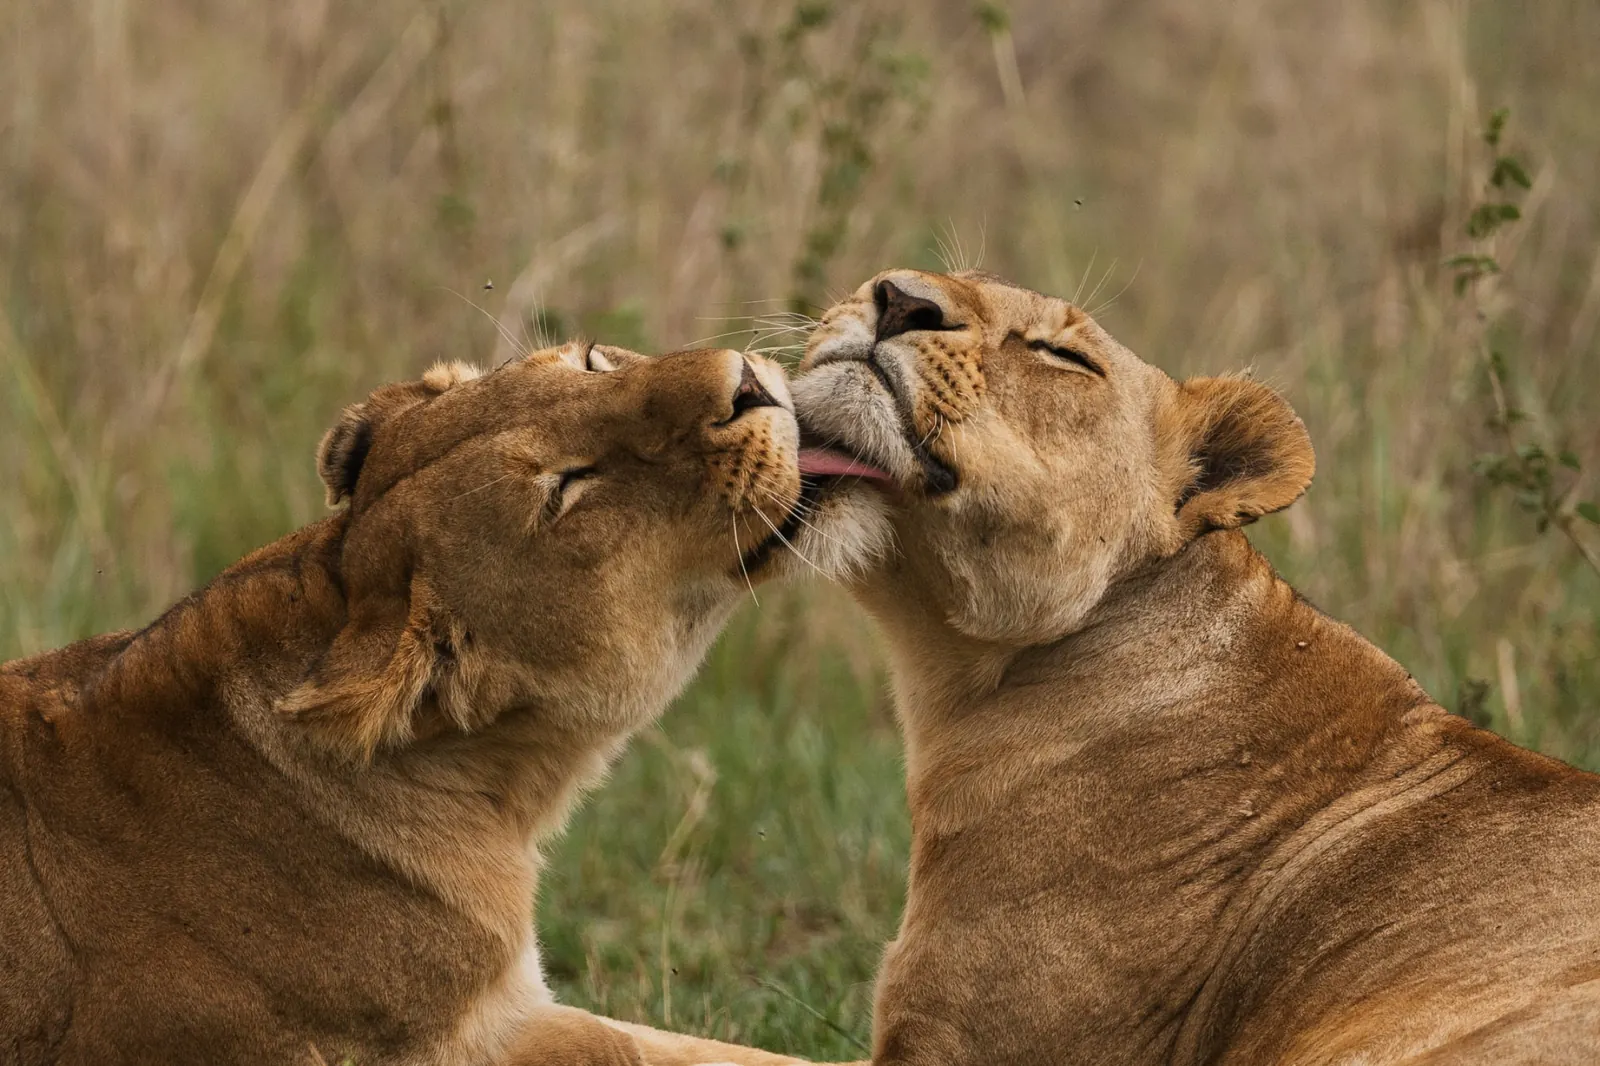
Try telling the story of one encounter in three frames: a wide view showing the landscape, a medium frame showing the animal's behaviour and a closer photograph highlighting a detail. This approach works for elephants beneath baobabs, a pride of lions resting together or giraffes moving across the plains. Watch the direction of light and avoid placing every animal in the centre of the frame. A few carefully observed photographs often become more meaningful memories than hundreds of nearly identical images.
Prepare before each game drive
Charge batteries, check memory-card space and confirm autofocus settings. Keep your camera secure inside the vehicle and avoid changing lenses unnecessarily in dusty conditions. Spend time practising before entering the park. A brief introduction to camera controls can make a meaningful difference when wildlife appears unexpectedly.
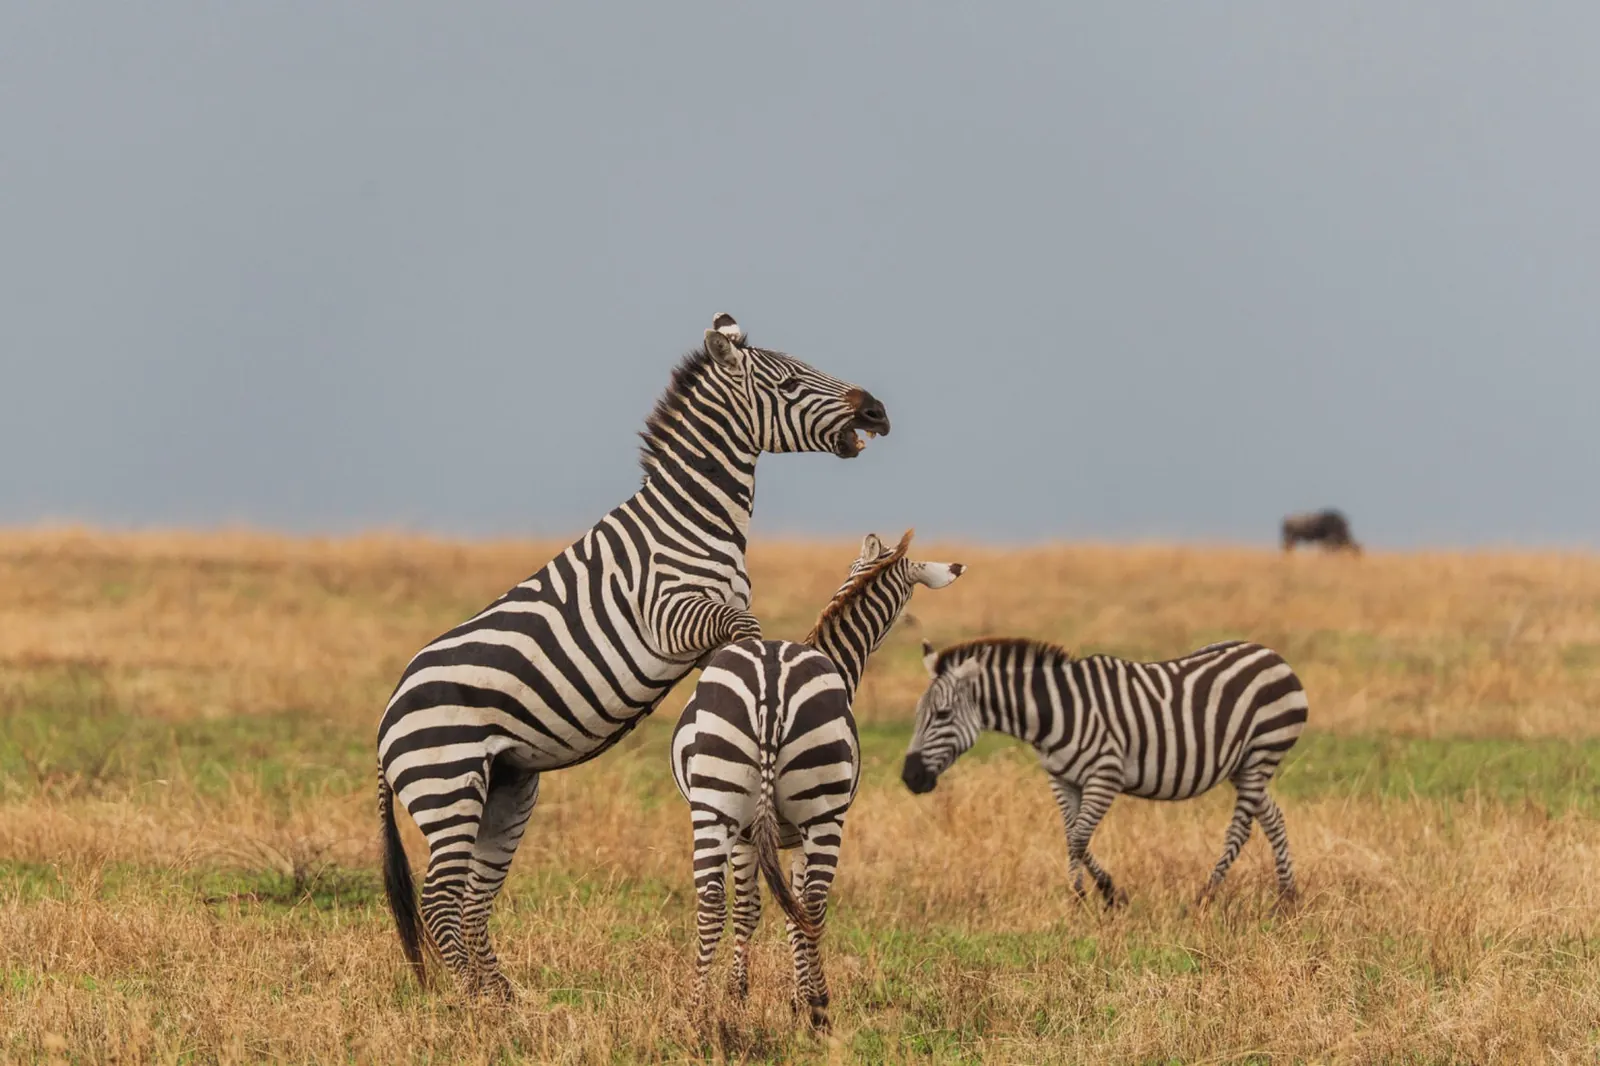
Enjoy the experience
Lens On Safari Camera Rentals offers camera kits and telephoto lenses in Arusha, with practical setup guidance for first-time users. The aim is not to turn every traveller into a professional photographer, but to help you feel confident with your camera while enjoying the safari.